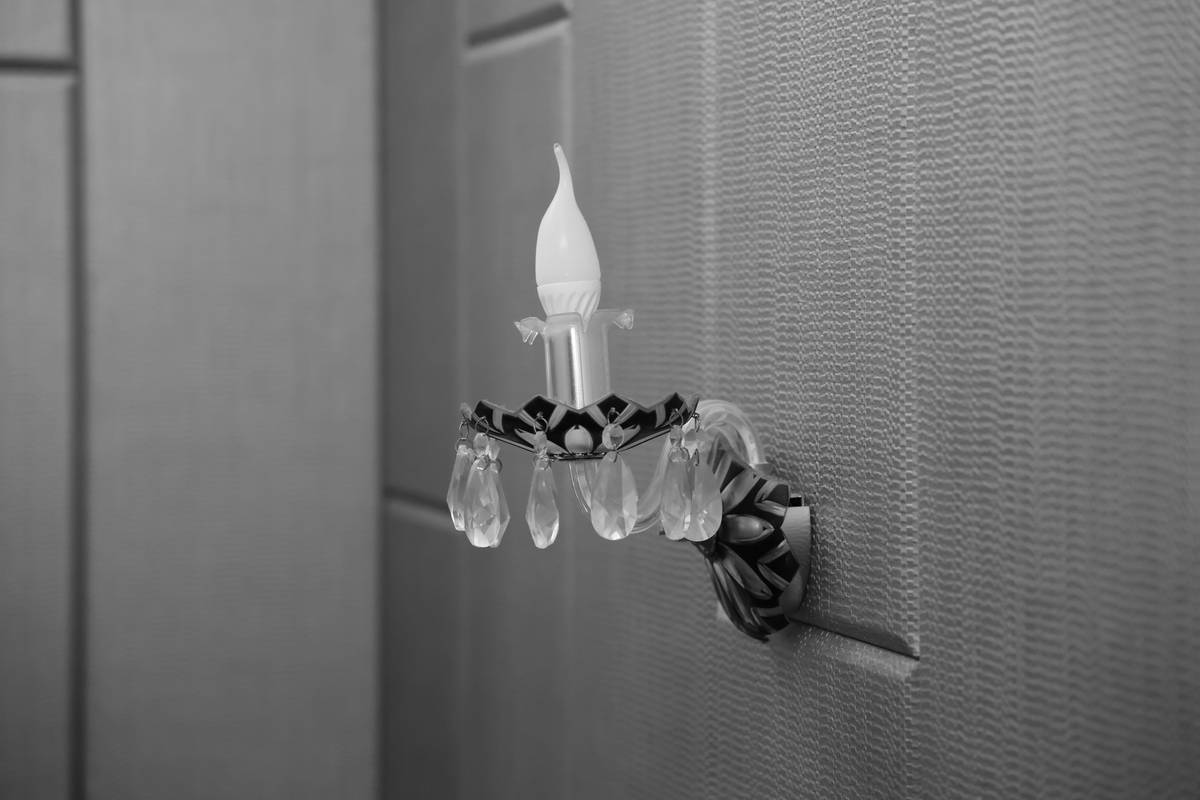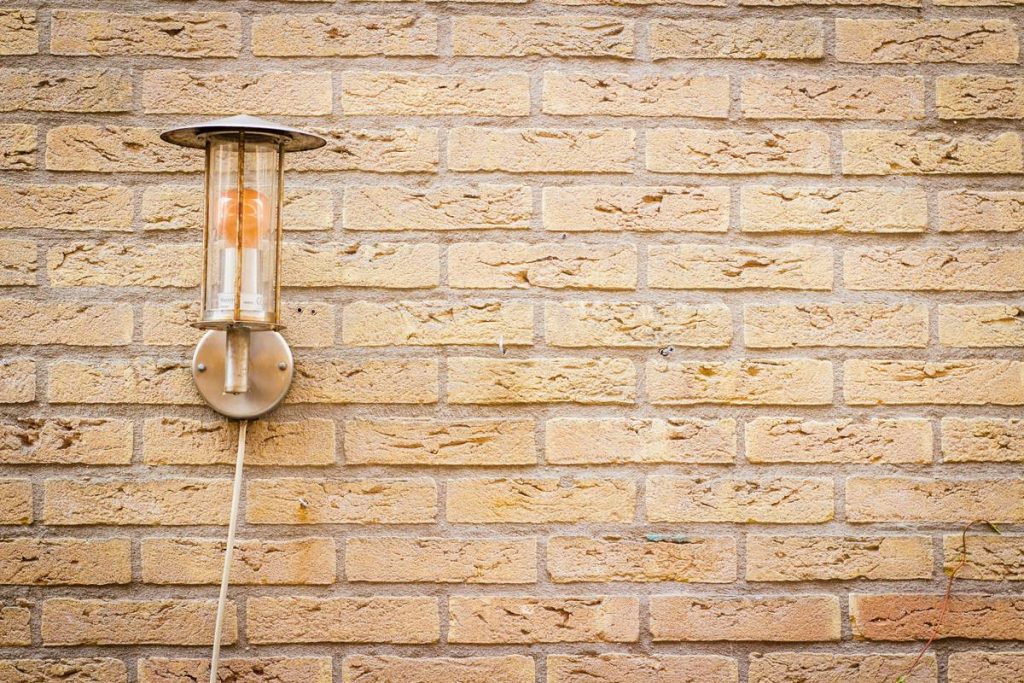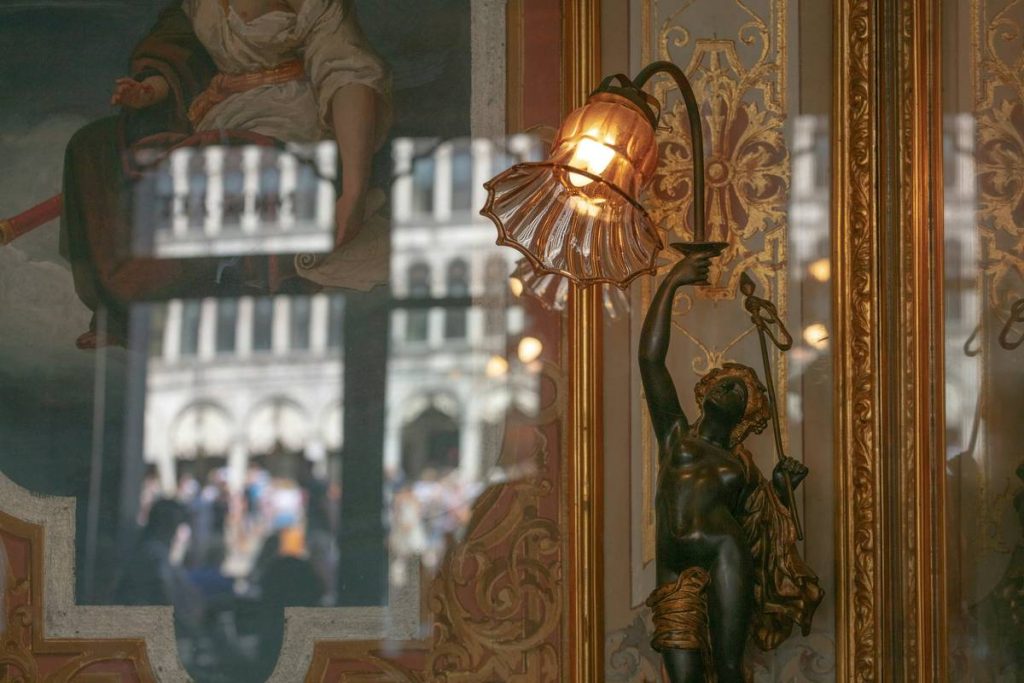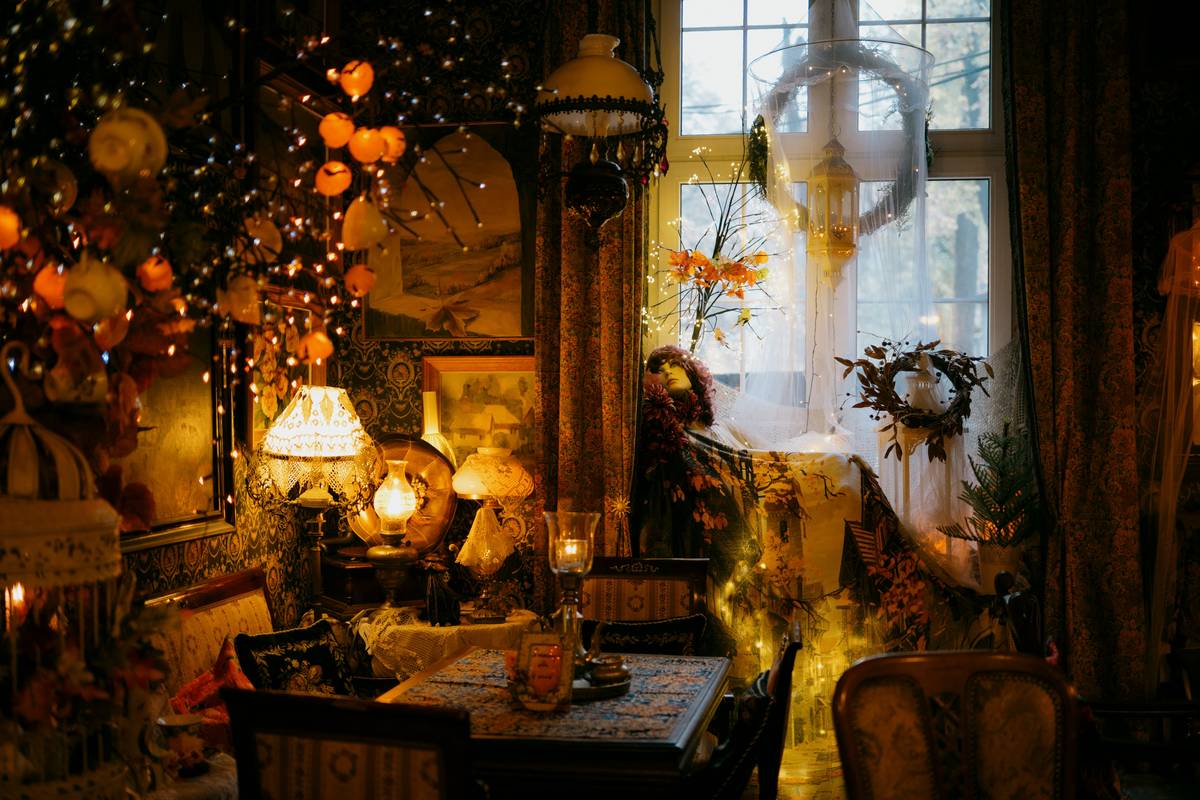
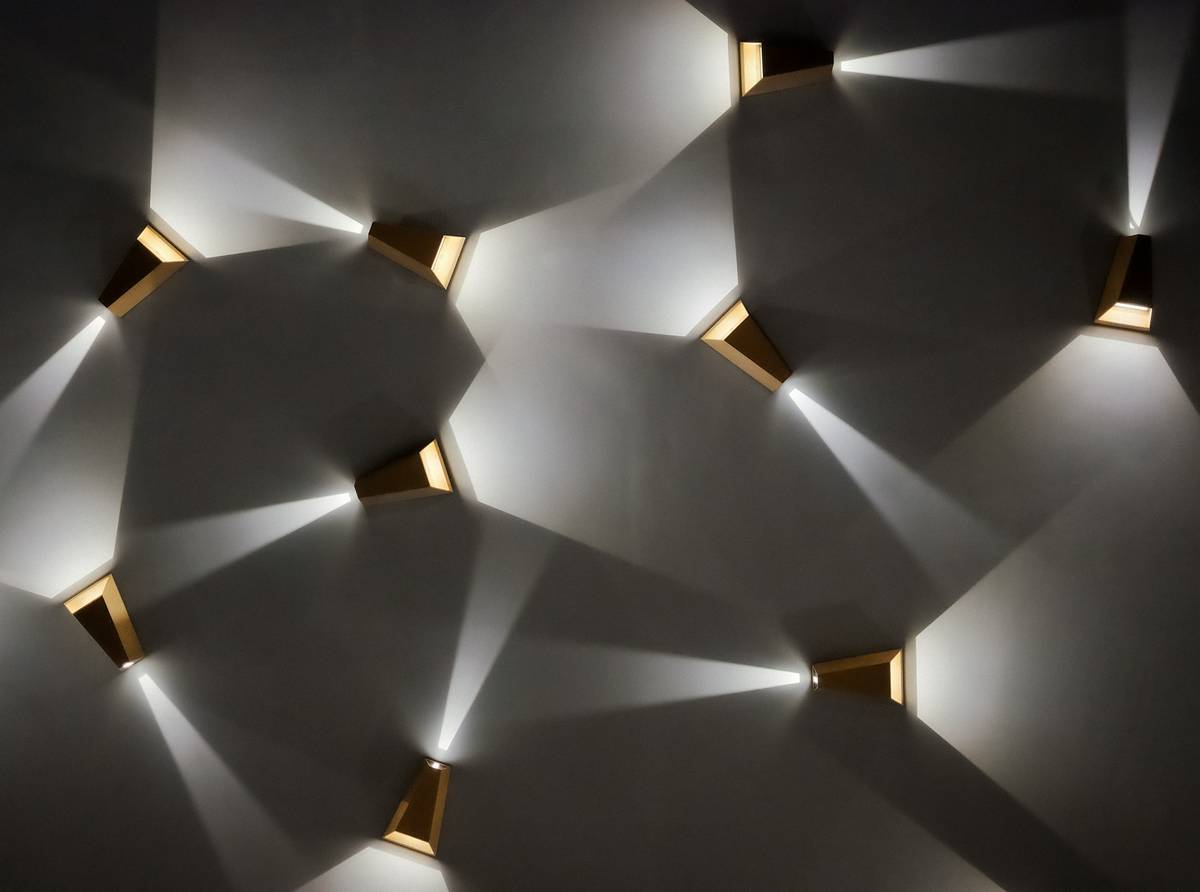
Most homeowners slap on a ceiling fixture and call it a day—then wonder why their living room feels flat, cold, or strangely institutional. The real issue? They’re ignoring vertical light. Without layered illumination from the walls, even the most expensive furniture looks staged, not lived-in. Interior wall lighting sconces fixtures fix this instantly—not by adding brightness, but by sculpting space with shadow and warmth.
Why Recessed Lights Alone Fail (And Why You Keep Hating Your Room)
Recessed downlights create pools of glare—not ambiance. They flatten walls, erase texture, and cast unflattering shadows under eyes and chins. You’ve probably walked into a beautifully furnished room that still felt “off.” That’s the telltale sign of missing mid-level light. And mounting a single pendant over a dining table won’t save you. True depth comes from the sides.
Here’s the reality: human vision evolved to read environments lit from multiple angles—firelight flickering on cave walls, sunlight through forest canopies. Our brains crave that complexity. Flat overheads feel sterile because they are.
How to Install Interior Wall Lighting Sconces Fixtures Like a Pro
Forget guessing heights or wiring nightmares. Follow this battle-tested sequence—it’s what top interior electricians use when clients demand “that magazine look.”
Step 1: Choose the Right Type for Your Function
Not all sconces are decorative. Some are task lights (bathroom vanity), some are accent (highlighting art), others pure mood (bedroom dimmers). Match form to function first—style second.
Step 2: Nail the Height (Literally)
In hallways, mount at 60–66 inches from floor to center. Beside beds or sofas? Align with seated eye level—usually 58–62 inches. Too high = useless glare. Too low = head-bonk territory.
Step 3: Wire Smartly—Avoid These Costly Mistakes
Hardwired sconces need junction boxes—but many skip grounding or overload circuits. Use 14/2 NM cable on a 15-amp circuit. And never daisy-chain more than three fixtures without a pro audit. The math is simple: overloading causes heat buildup. Heat kills LEDs faster than cheap drivers.
| Installation Method | Average Cost (Per Fixture) | DIY Feasibility | Ideal For |
|---|---|---|---|
| Hardwired (with junction box) | $120–$250 | Moderate (requires electrical knowledge) | Permanent spaces: living rooms, stairwells |
| Plug-in with cord cover | $40–$90 | Easy (no wiring) | Rentals, temporary setups, bedrooms |
| Battery-powered (rechargeable LED) | $30–$70 | Very easy | Hallway accents, closets, mood-only zones |
The Industry Secret: Bounce Light > Direct Light (Every Time)
Top lighting designers rarely point sconces downward or outward. They aim them up. Why? Because bouncing light off the ceiling creates a soft, diffuse glow that mimics natural skylight—eliminating harsh contrasts and making ceilings feel higher. Downward-facing sconces just add more floor glare. Upward wash? Instant luxury. Test it: swap one fixture direction tonight. You’ll see the difference in seconds.
But here’s what no one tells you—most retail sconces aren’t designed for upward aiming. Look for open-top designs or “uplight” models. If your favorite has a closed top, return it. Seriously.
Frequently Asked Questions
Can I install interior wall lighting sconces fixtures without hardwiring?
Yes. Plug-in and battery-operated sconces work well for renters or low-impact installs. Use cord covers painted to match your wall for a clean look.
What’s the best bulb color temperature for sconces?
2700K to 3000K. Warmer tones (2700K) create coziness in bedrooms; 3000K offers crisp clarity in bathrooms or kitchens without feeling clinical.
Do sconces save energy compared to ceiling lights?
Not directly—but they let you turn off overheads entirely. Using two 6W LED sconces instead of a 40W ceiling fixture cuts usage by over 70% while improving ambiance.