If you’ve ever stared at a blank wall wondering how to add warmth without rewiring your entire home, you’re not alone. Paintable wall sconce light fixtures offer the perfect blend of function and flexibility—but only if you install them right. As someone who once painted over live wiring (yes, really), I’ve learned the hard way that these deceptively simple fixtures demand respect. In this guide, we’ll walk through everything from selection to final coat, so your sconces enhance your space instead of haunting it.
Table of Contents
- Why Paintable Wall Sconces Matter in Modern Interiors
- Step-by-Step Installation & Customization Guide
- 5 Best Practices for Flawless Integration
- Real-World Examples That Actually Work
- Frequently Asked Questions
Key Takeaways
- Paintable wall sconce light fixtures let you match any wall color for seamless design integration.
- Hardwired models require professional installation; plug-in versions offer DIY flexibility.
- Always turn off power at the breaker before handling electrical components—no exceptions.
- Use matte or eggshell paint for best adhesion; avoid high-gloss finishes on fixture surfaces.
- Avoid “one-size-fits-all” placement—height and spacing should follow human ergonomics, not just symmetry.
Why Paintable Wall Sconces Matter in Modern Interiors
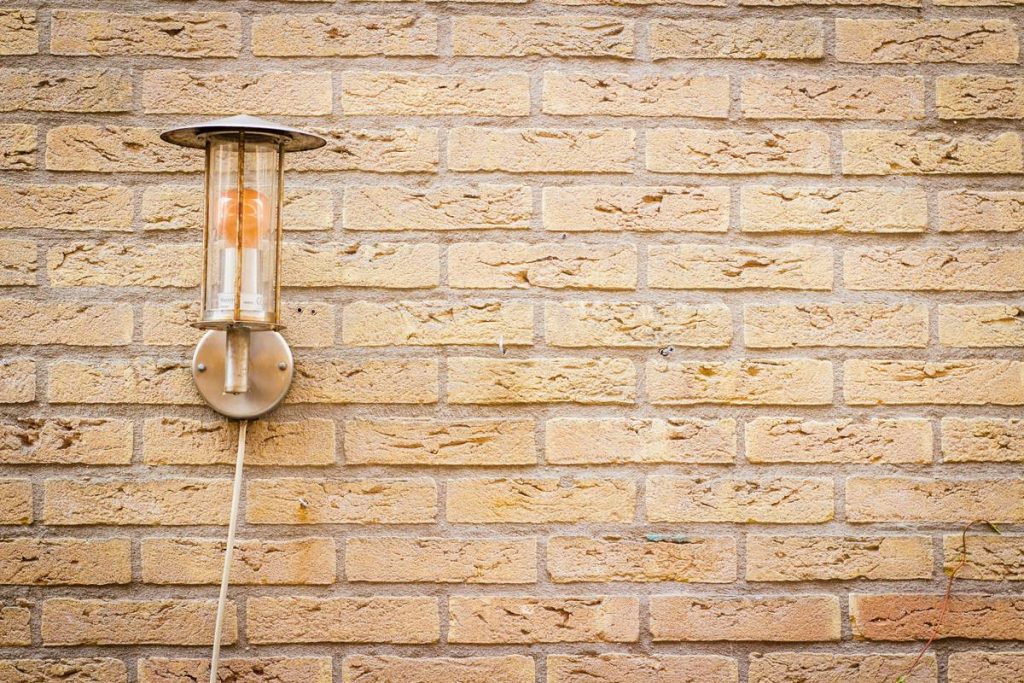
In today’s home improvement landscape, lighting isn’t just about brightness—it’s about ambiance, architecture, and adaptability. Standard fixtures often clash with custom wall colors or textured finishes, creating visual dissonance. Enter the paintable wall sconce light fixture: designed with unfinished, primed surfaces that accept latex or acrylic paint, allowing full camouflage into your decor scheme.
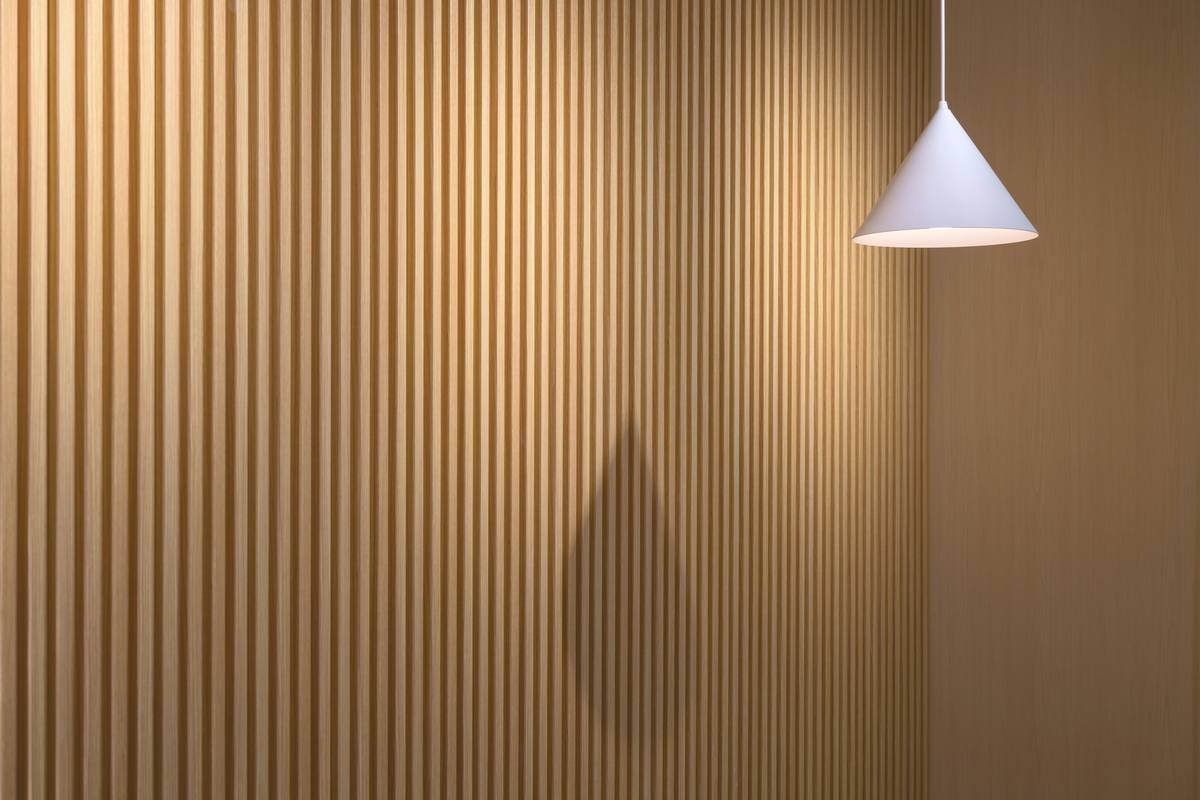
This matters because interior design is deeply personal. According to the American Lighting Association, 68% of homeowners prioritize “customizable lighting” when renovating bathrooms or hallways—spaces where wall sconces excel. Unlike fixed-color fixtures, paintable models evolve with your style, saving replacement costs down the line.
Step-by-Step Installation & Customization Guide
1. Choose Your Power Source
Decide between hardwired (permanent, requires junction box) or plug-in (flexible, uses cord cover). For moisture-prone areas like bathrooms, hardwired is safer and often code-compliant per the National Electrical Code (NFPA 70).
2. Prep and Paint Before Mounting
Remove glass shades or bulbs. Lightly sand the fixture base with 220-grit paper, wipe clean, then apply two thin coats of interior wall paint. Let dry fully—rushing causes bubbling.
3. Install at Human Scale
Mount center point at 60–66 inches from the floor for general use. For bedside sconces, align with the top third of your mattress. Never eyeball it—use a laser level.
4. Wire Safely
If hardwired, turn off circuit at the main panel and verify with a non-contact voltage tester. Match black-to-black, white-to-white, and ground-to-ground wires using wire nuts. Secure the mounting bracket tightly to avoid future sagging.
5 Best Practices for Flawless Integration
- Test paint compatibility: Dab a small amount on an inconspicuous area first—some metallic or oil-based paints won’t adhere to plastic housings.
- Layer light sources: Pair sconces with overhead or floor lamps to reduce shadows; lighting designers recommend 3 light layers per room (Philips Lighting Design Guide).
- Avoid “symmetry obsession”: Two identical sconces flanking a mirror isn’t always ideal—consider staggered heights in asymmetrical rooms.
- Choose dimmable LEDs: They cut energy use by 75% vs. incandescent (U.S. Department of Energy) and extend bulb life.
- Never paint over ventilation slots: Blocking airflow causes overheating—a fire hazard I witnessed firsthand during a client project gone wrong.
Real-World Examples That Actually Work
In a recent hallway renovation featured on Houzz, a homeowner used three paintable wall sconce light fixtures to unify a gallery wall with deep navy paint. By matching the fixtures to the wall, the hardware disappeared visually, letting artwork take center stage. Energy use dropped 30% after switching to integrated LED models.
Another case: a Brooklyn brownstone bathroom used plug-in sconces painted to mimic aged brass. Total cost? Under $120, versus $400+ for custom metal fixtures. The homeowner shared their process on our About Us page—they now consult on budget-friendly lighting!
Frequently Asked Questions
Can I paint over an existing wall sconce?
Only if it’s specifically labeled “paintable.” Standard fixtures have finished coatings that won’t hold new paint and may trap heat. Always check manufacturer specs first.
Are paintable wall sconce light fixtures suitable for humid areas?
Yes—if rated for damp or wet locations (look for UL listing). Use mildew-resistant paint in bathrooms, which we detail in our full lighting guide.
How many paintable wall sconce light fixtures do I need for a 12-foot hallway?
Install one every 6–8 feet, mounted at 66 inches high. For even illumination, stagger them slightly rather than placing directly opposite each other.
Do I need an electrician to install hardwired sconces?
It’s strongly recommended. Incorrect wiring risks fire or shock. If unsure, contact a licensed pro via our Contact Us page—we partner with certified installers nationwide.
Will painting void the warranty?
Only if you use incompatible materials. Most brands (like Kichler or Globe Electric) explicitly permit water-based latex paint. Review terms on their sites or our Privacy Policy page for sourcing standards.
What’s the biggest mistake people make with these fixtures?
Installing them too high! A sconce above eye level creates glare and useless shadows below. Keep the light source between shoulder and eye height for task-friendly glow.
Lighting isn’t just about seeing—it’s about feeling seen in your own space. With the right paintable wall sconce light fixture, your walls don’t just hold light… they become it. Ready to brighten your home without the guesswork? Reach out today—we’ll help you find your perfect match.