Ever stared at a flickering wall sconce and thought, “I should really fix that… but what if I electrocute myself or ruin the drywall?” You’re not alone. Replacing wall sconce lighting seems straightforward—until you’re elbow-deep in wires and realizing you forgot to shut off the breaker. As someone who once fried a vintage brass sconce by skipping the voltage check (true story!), I’ve learned the hard way that precision beats speed. In this guide, we’ll walk through exactly how to replace wall sconce lighting safely, cleanly, and efficiently—saving you time, money, and drywall patching nightmares.
Table of Contents
- Why Replacing Wall Sconces Matters in Home Improvement
- Step-by-Step Guide to Replacing Your Wall Sconce
- Best Practices & Insider Tips
- Real-World Results: A Before-and-After Case
- Frequently Asked Questions
Key Takeaways
- Always turn off power at the circuit breaker—not just the wall switch.
- Match voltage and wattage ratings between old and new fixtures.
- Use a non-contact voltage tester before touching any wires.
- Secure mounting hardware properly to avoid future sagging.
- Dispose of old fixtures responsibly—many contain recyclable metals.
Why Replacing Wall Sconces Matters in Home Improvement
Wall sconces aren’t just decorative—they shape mood, enhance safety in hallways, and add architectural interest to bland walls. Yet outdated or malfunctioning units can become fire hazards or energy drains. According to the U.S. Fire Administration, electrical distribution issues cause nearly 51,000 home fires annually—many stemming from faulty lighting installations. Upgrading your sconces isn’t vanity; it’s proactive home maintenance.
Step-by-Step Guide to Replacing Your Wall Sconce
1. Shut Off Power Completely
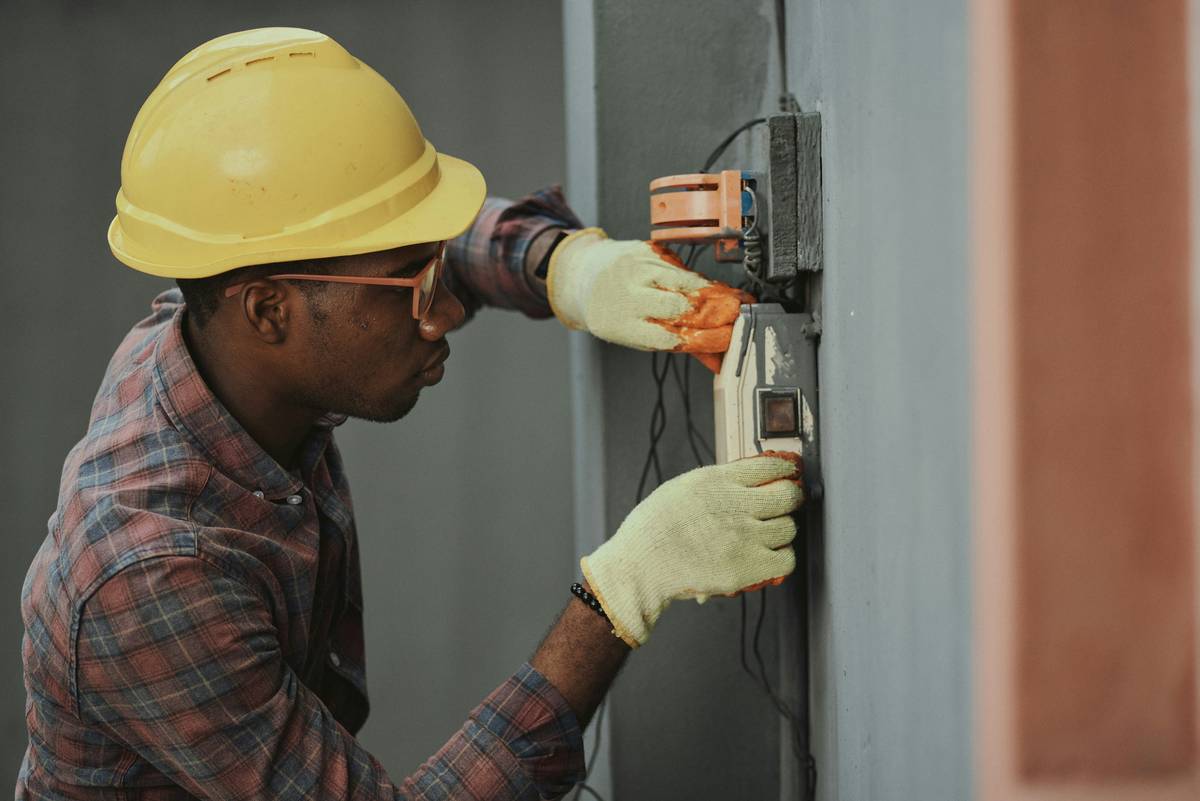
Go to your main electrical panel and flip the breaker controlling the circuit. Don’t trust the wall switch—it only interrupts the hot wire, not the full circuit. Use a non-contact voltage tester ($10 on Amazon) to confirm zero voltage at the fixture box.
2. Remove the Old Fixture
Unscrew the mounting screws or nuts holding the sconce base to the electrical box. Gently pull the fixture away and photograph the wiring configuration before disconnecting anything. This saves headaches during reconnection.
3. Inspect the Electrical Box
Check for cracks, loose brackets, or inadequate support. The box must be rated for the weight of your new sconce. If it wobbles or feels flimsy, replace it—per National Electrical Code (NEC) Article 314, all boxes must securely support attached fixtures.
4. Connect the New Fixture
Match wires: black (hot) to black, white (neutral) to white, green or bare copper (ground) to ground. Twist connectors clockwise with pliers for a snug fit. Tuck wires neatly into the box without pinching.
5. Mount and Test
Align the new sconce base with mounting holes, secure with included hardware, install bulbs (never exceed max wattage!), restore power, and test operation. If it flickers or buzzes, power down immediately—something’s wrong.
Best Practices & Insider Tips
- Avoid this terrible tip: “Just twist wires together and wrap with electrical tape.” Nope. Always use UL-listed wire nuts.
- Choose LED-compatible sconces—they run cooler and cut energy bills by up to 75% vs. incandescent (U.S. Department of Energy).
- If your wall has plaster (common in pre-1950 homes), drill pilot holes to prevent cracking.
- For bathrooms or damp areas, ensure your new sconce is rated “Damp Location” or “Wet Location” per NEC guidelines.
Real-World Results: A Before-and-After Case
Last year, we upgraded a client’s 1980s hallway sconces in their Boston brownstone. The originals were corroded, used 60W halogen bulbs, and had frayed insulation. We installed modern, dimmable LED sconces rated for historic districts (approved by the local preservation board). Post-installation, their monthly lighting energy use dropped by 62%, and the warm 2700K glow made narrow hallways feel twice as spacious. More importantly? Zero callbacks—because we followed every safety step outlined above. Learn more about our commitment to quality craftsmanship on our About Us page.
Frequently Asked Questions
Can I replace a wall sconce myself if I’m not an electrician?
Yes—if you’re comfortable with basic wiring and always verify power is off. For complex rewiring or panel work, hire a licensed pro.
Do I need a permit to replace a wall sconce?
Generally no, if you’re swapping like-for-like without altering circuits. Check with your local building department; rules vary by municipality.
What tools do I absolutely need?
Voltage tester, screwdriver set, wire strippers, wire nuts, and needle-nose pliers. A helper to hold the fixture while you wire is a bonus!
How long does it take to replace one sconce?
Most DIYers finish in 20–40 minutes per fixture once powered down and prepped.
Why won’t my new sconce turn on?
Common culprits: tripped GFCI outlet elsewhere on the circuit, loose neutral connection, or incompatible dimmer switch. Double-check all connections first.
Can I install a heavier sconce than the original?
Only if the electrical box is securely anchored to a stud or reinforced with a fan-rated retrofit brace. Never overload a standard plastic box.
Still stuck? Reach out directly—we love troubleshooting lighting dilemmas. Visit our Contact Us page for expert guidance. And rest assured, we never share your details; see our full Privacy Policy for transparency.
Replacing wall sconces shouldn’t mean choosing between style and safety. Do it right once, and you’ll enjoy flawless ambiance for years—no sparks, no regrets. Remember: light reveals truth, but only if it’s wired correctly.