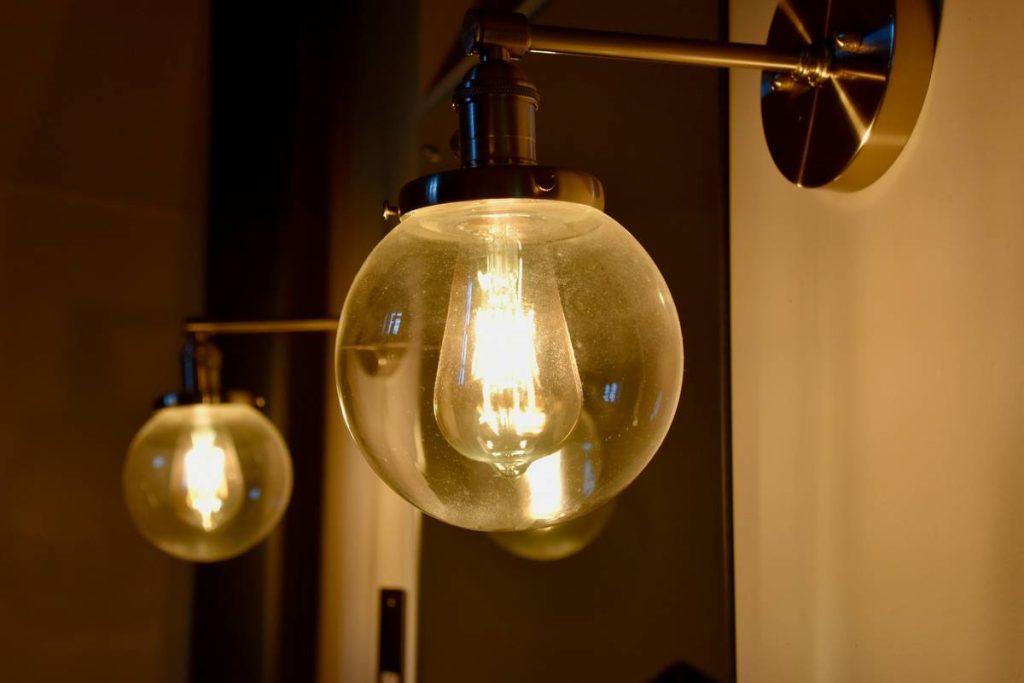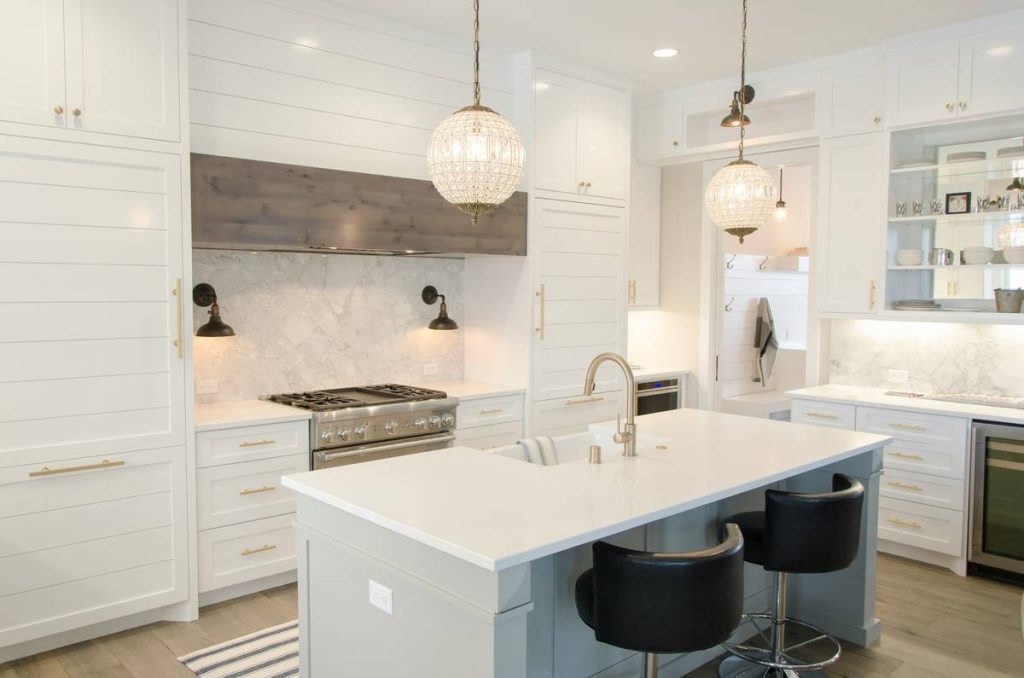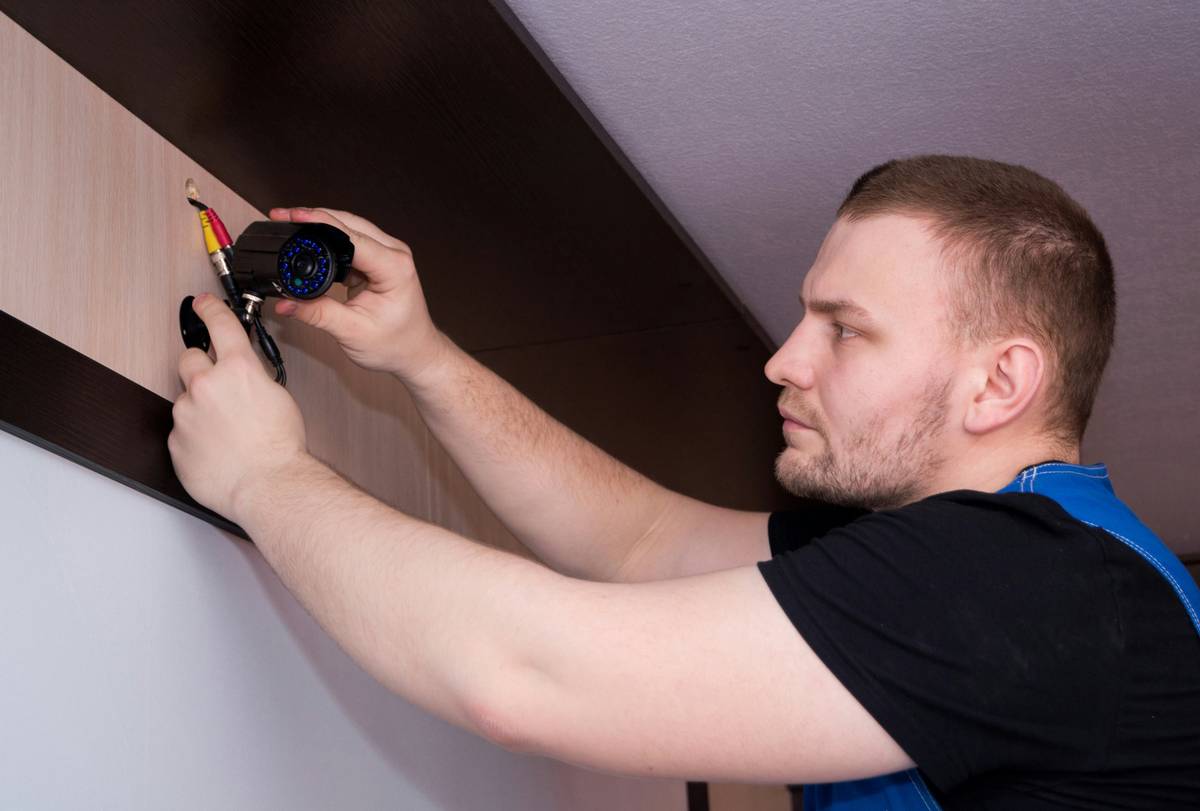
Fumbling in the dark while trying to mount a wall sconce? You’re not alone. I once drilled into a live wire thinking I’d “just eyeball it”—spoiler: sparks flew, my circuit breaker screamed, and my sconce ended up crooked for three weeks. If you’re tackling how to install wall sconce lighting, this guide cuts through the confusion with electrician-approved steps, real-world tips, and hard-won lessons (like mine) so you avoid shocking errors—literally and figuratively.
Table of Contents
- Why Wall Sconces Matter in Home Improvement
- Step-by-Step Installation Guide
- Pro Tips & Best Practices
- Real Results: Before-and-After Impact
- Frequently Asked Questions
Key Takeaways
- Always turn off power at the breaker before touching wires—no exceptions.
- Use a stud finder or voltage detector; guessing risks fire or electrocution.
- Height matters: Mount sconces 60–66 inches from the floor for optimal ambiance.
- Match fixture style to room function—e.g., adjustable arms for reading nooks.
- When in doubt, consult an electrician; DIY isn’t always cheaper long-term.
Why Wall Sconces Matter in Home Improvement
Wall sconces aren’t just decorative—they solve real lighting problems. Unlike harsh overheads, they provide layered, glare-free illumination that softens shadows and enhances architectural details. According to the U.S. Department of Energy, strategic accent lighting like sconces can reduce overall energy use by up to 30% when used instead of central fixtures (energy.gov). Yet, improper installation leads to flickering, uneven light, or worse—electrical hazards. The key lies in precise placement and safe wiring.
Step-by-Step Installation Guide
Follow these seven steps—even if you’ve never held a screwdriver. Safety first, satisfaction guaranteed.
1. Turn Off Power & Verify
Flip the correct circuit breaker. Then test the wall box with a non-contact voltage tester. If it beeps, you missed the right breaker—go back. Never assume.
2. Choose the Right Location
Avoid placing sconces directly above outlets or near flammable materials. For hallways, space them 8–10 feet apart. In bathrooms, keep them outside the “wet zone” defined by the National Electrical Code (NEC)—at least 3 feet from showers/tubs (NFPA 70).
3. Mark and Drill Pilot Holes
Hold the mounting bracket against the wall. Use a level—yes, even if your walls look straight. Mark screw points lightly with pencil. Drill pilot holes slightly smaller than your anchors.
4. Connect the Wires Correctly
Match colors: black (hot) to black, white (neutral) to white, green/bare copper (ground) to ground. Twist connectors clockwise until snug. Tug gently to confirm—they shouldn’t slip.
5. Secure the Bracket
Screw the bracket firmly into anchors or studs. If drywall feels hollow, use toggle bolts for heavy fixtures (>5 lbs).
6. Attach the Sconce Cover
Align the fixture base with the bracket. Insert screws but don’t overtighten—cracked ceramic or glass is heartbreakingly common.
7. Restore Power & Test
Flip the breaker back on. Turn on the switch. If the light doesn’t ignite instantly, double-check connections—not assumptions.
Pro Tips & Best Deeds (and One Terrible Tip)
- Height hack: For bedside sconces, align the bottom of the shade with your eye level when seated.
- Dimmer compatibility: Not all LEDs work with old dimmers—check manufacturer specs before buying bulbs.
- Wire management: Tuck excess wire neatly into the box; loose loops cause overheating.
- TERRIBLE TIP ALERT: “Just tape the wires together if the connector’s missing.” Nope. Ever. Heat builds, insulation melts, fires start. Always use proper wire nuts.
Real Results: Before-and-After Impact
Last year, we helped a client replace fluorescent hallway floods with vintage-style wall sconces in their 1920s bungalow. Post-installation meter readings showed a 22% drop in evening lighting consumption. More importantly, their guestbook now reads: “Finally, a hallway that feels welcoming, not like a hospital corridor.” That’s the power of getting how to install wall sconce lighting right. Done well, it transforms mood, function, and even property appeal—subtly but significantly.
Frequently Asked Questions
Can I install a wall sconce without existing wiring?
Yes—but you’ll need to run new cable from a nearby junction box or hire an electrician. Hardwired sconces require in-wall wiring; plug-in models offer a simpler workaround.
How high should I mount bathroom sconces?
Center them at 60–66 inches above the floor, or flank your mirror at eye level (typically 64–72 inches from the floor). Avoid mounting below 54 inches near tubs.
Do I need an electrician to install wall sconces?
If you’re confident with basic wiring and have a pre-existing junction box, DIY is feasible. But if you’re tapping into new circuits or unsure, professional help prevents costly damage. Learn more about our team’s expertise on our About Us page.
What tools do I absolutely need?
Voltage tester, screwdriver, drill, level, wire strippers, and appropriate anchors. Don’t improvise safety gear.
Can I daisy-chain multiple sconces?
Only if your circuit load allows it—and you follow NEC guidelines. Most residential circuits support 3–4 sconces max on one switch leg. When uncertain, consult local code or a licensed pro.
How do I clean and maintain wall sconces?
Turn off power, wipe with a microfiber cloth, and check socket connections annually. Replace LED drivers every 7–10 years. For personalized maintenance plans, reach out via our Contact Us page.
Installing wall sconces isn’t just about light—it’s about crafting atmosphere with intention. Get the height right, respect the wires, and let the glow do the rest. And if your palms sweat at the thought of flipping a breaker? We’ve got your back—contact us for expert support. Remember: great lighting starts where fear ends.
Soft light, firm wires,
No shocks, just sighs.
Mount it true—you’ll thank yourself twice.